Tutorial
How to Print a Document & Take a Verification Selfie
Follow this step-by-step guide to print your generated document, prepare it neatly, and take a selfie that passes verification — all in a few simple steps.
Create Your Document
Browse the template library and select the document you need. Once chosen, enable the Print Look option to render a realistic printed appearance. Generate a preview, review the result, and purchase the watermark-free version to obtain a clean, high-resolution image suitable for printing.
Print the Image
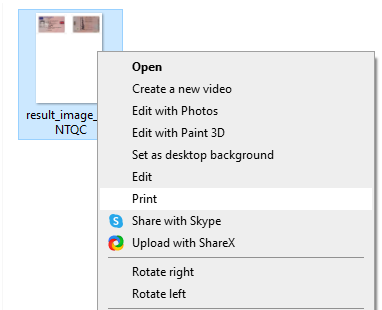
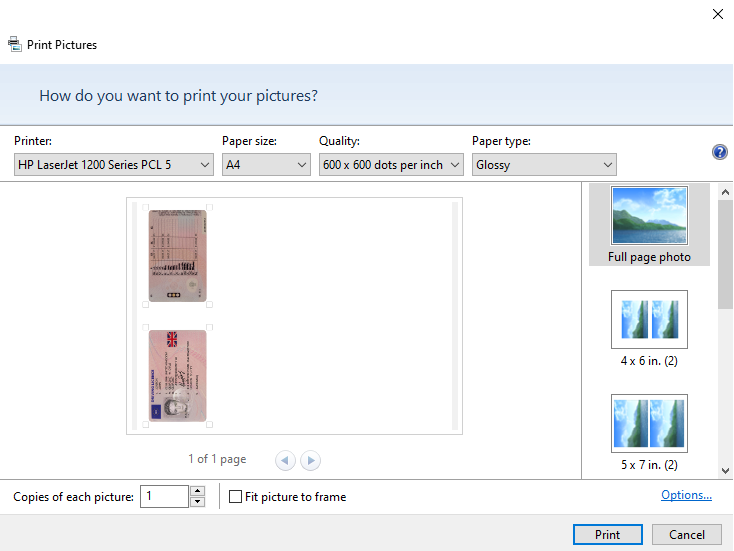
Open the downloaded image, select the Print option from the context menu, and send it to your printer. A good-quality printer makes all the difference — we recommend the Epson WorkForce WF-2960 for crisp, high-resolution results.
Selecting a printer & settings
Recommended print settings
Cut the Document
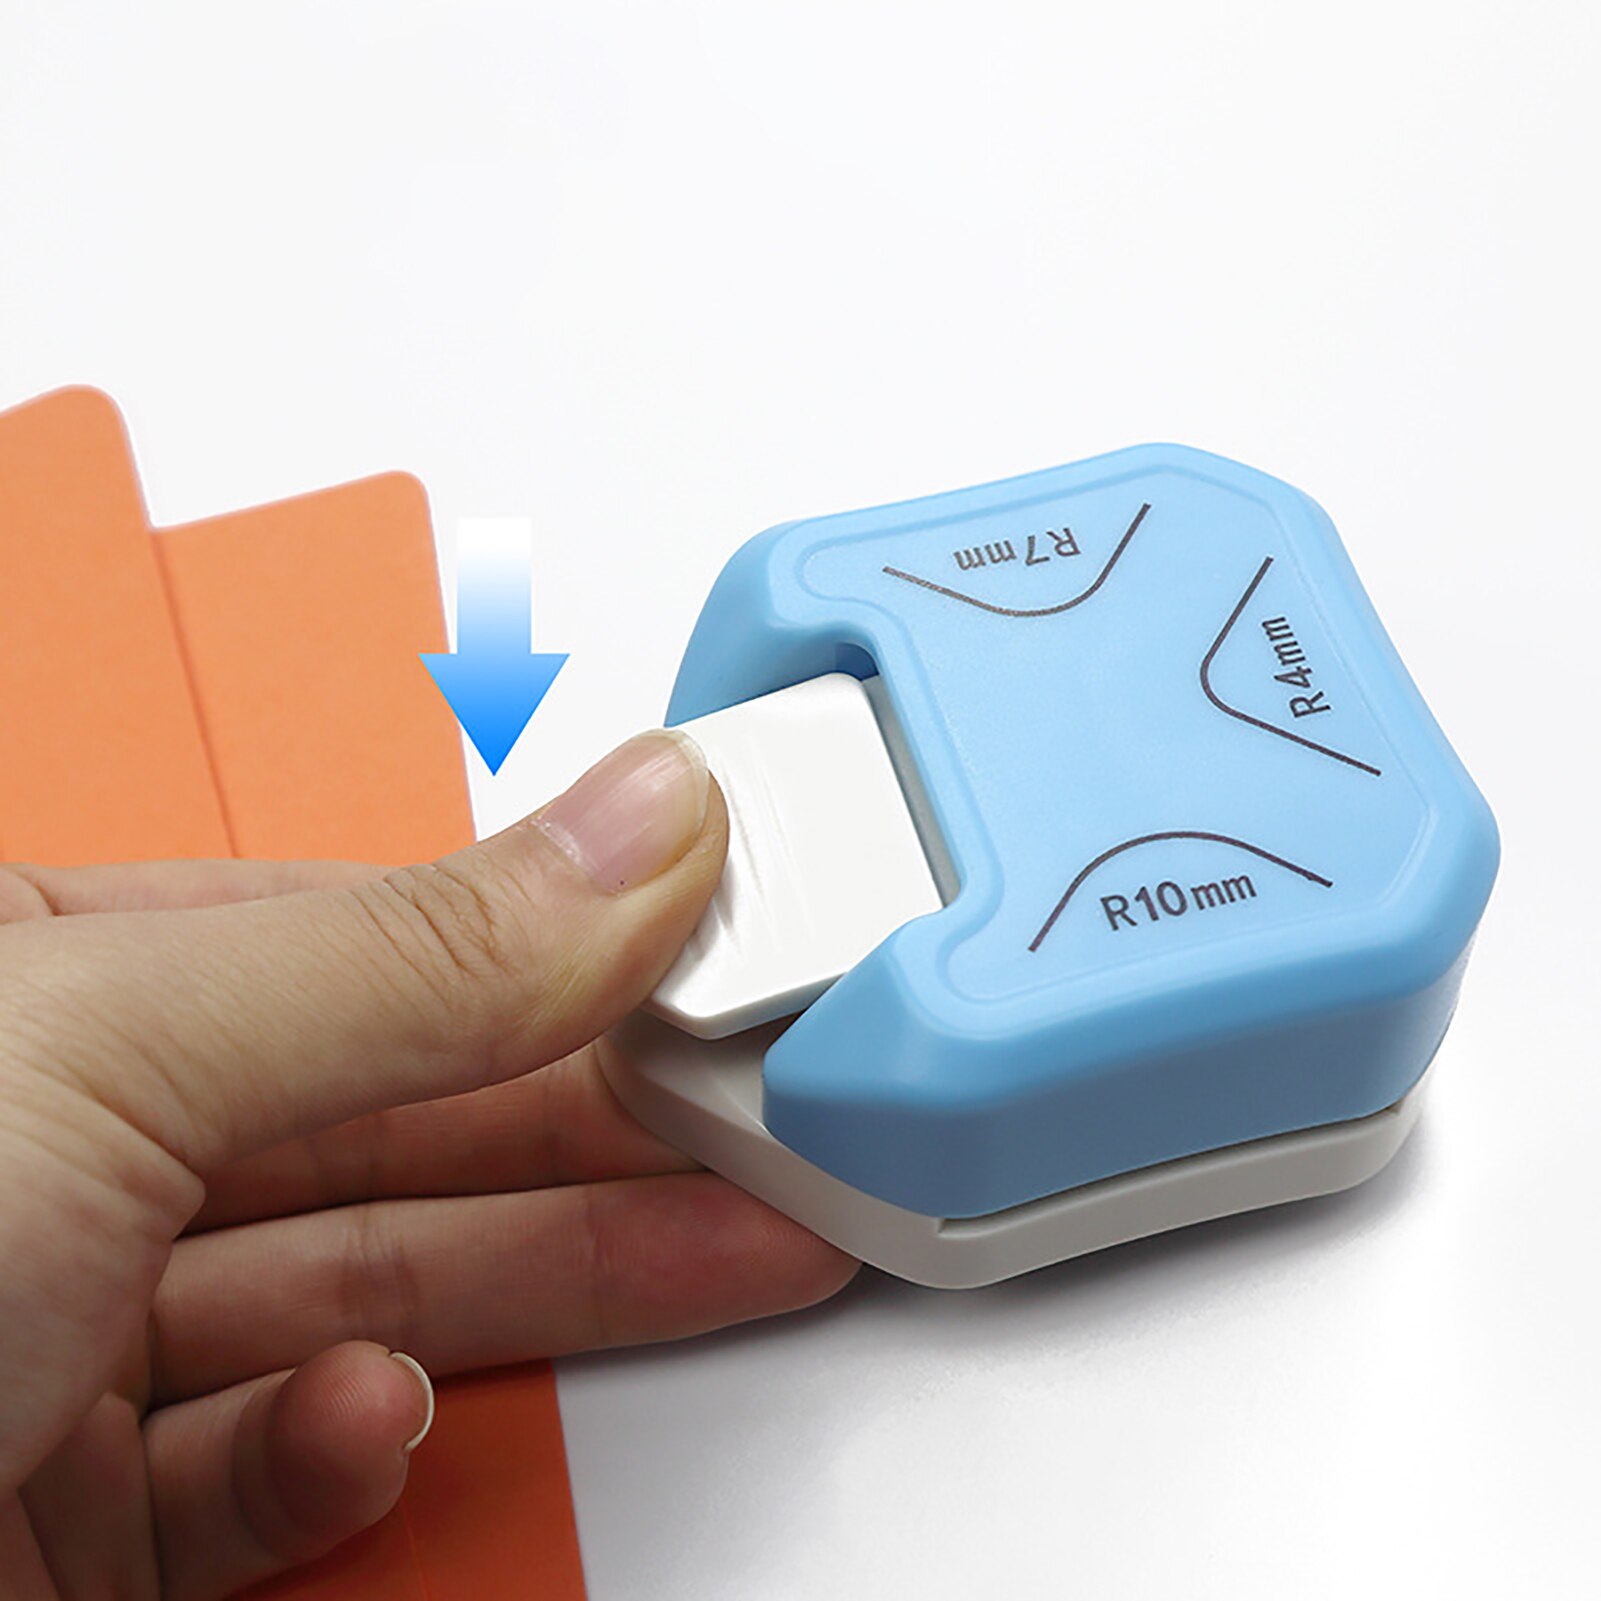
Carefully cut out the printed document using a utility knife and a metal ruler for a straight, clean edge. For a professional finish, use a paper corner cutter to round the corners — this gives the document a polished, authentic look.
Cutting along the edges
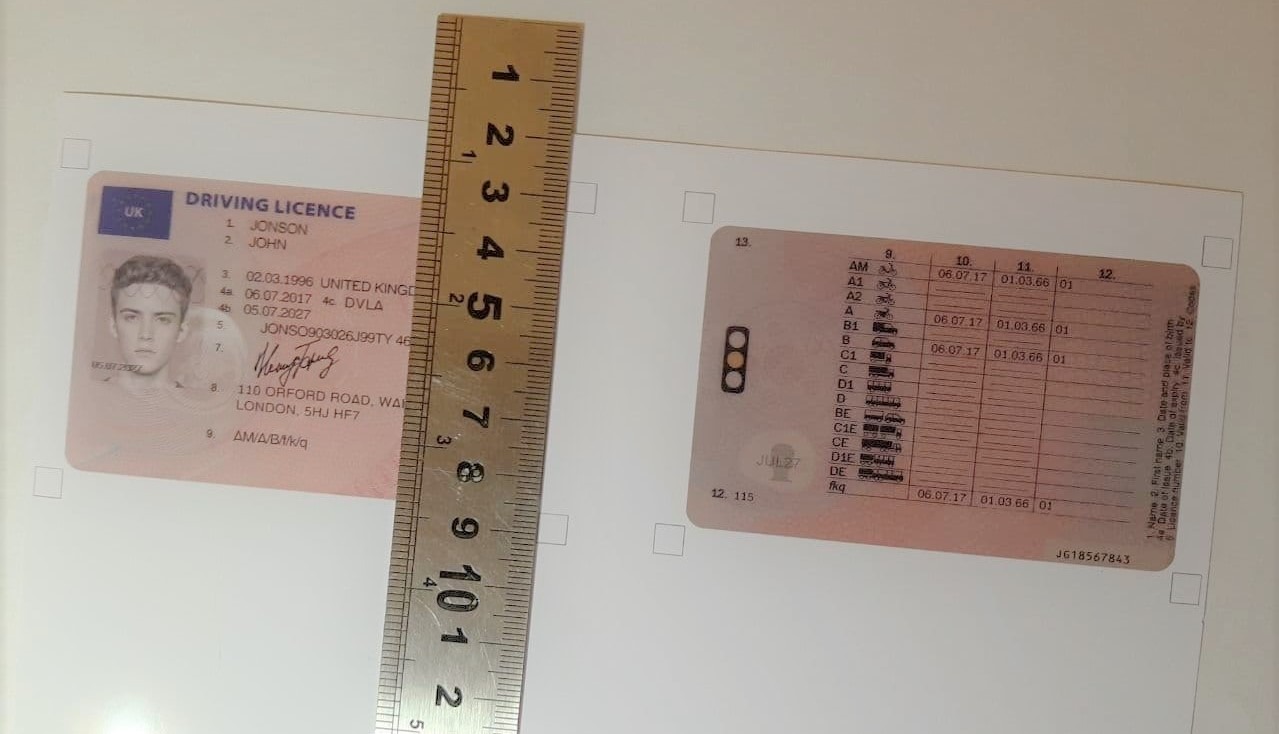
Rounding the corners neatly
The finished result
Take a Selfie
Hold the printed document next to your face in a well-lit environment and take a clear selfie. Make sure the document is fully visible, not obstructed by fingers, and that your face is unobstructed as well. A neutral expression and good lighting help ensure a successful verification.
Verification
Upload the selfie to the website or the application to complete the verification process. If you followed the steps above, your document should be neat, legible, and properly displayed alongside your face — giving you the best chance of passing verification on the first attempt.
Need Help?
If you run into any issues, our support team is ready to assist you on Telegram.